What system transfer covers
Create a short inventory before starting: Nintendo Account access, the three games with the saves you care about most, purchased downloads and personal screenshots. A successful system transfer is not proven solely by seeing icons on the HOME Menu. Sign in on the destination, launch your priority games, check the actual save slots and verify the captured media. Leave the source console intact until every critical item has been checked.
Preparing saves, accounts and microSD storage
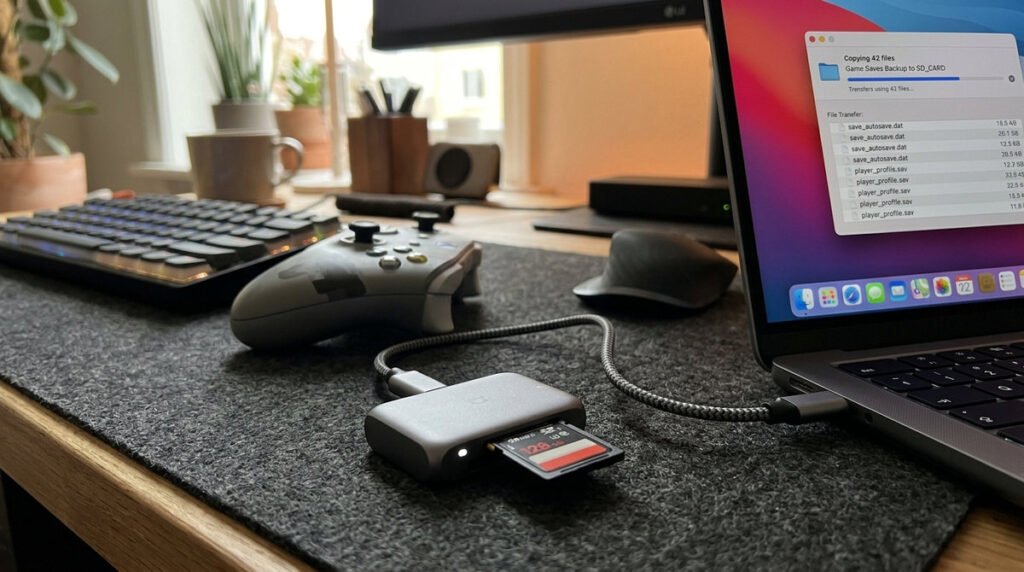
Prepare a transfer like a move between computers: identify what is stored locally, what can be redownloaded and what has no replacement. Purchases belong to accounts, playable game data resides on storage, and save data follows its own rules. Check Nintendo’s supported transfer process for the source and destination models, make sure both have power, and keep account sign-in details available. Do not interpret a game icon appearing on the new HOME Menu as proof that every associated save arrived.
The right order to verify migration
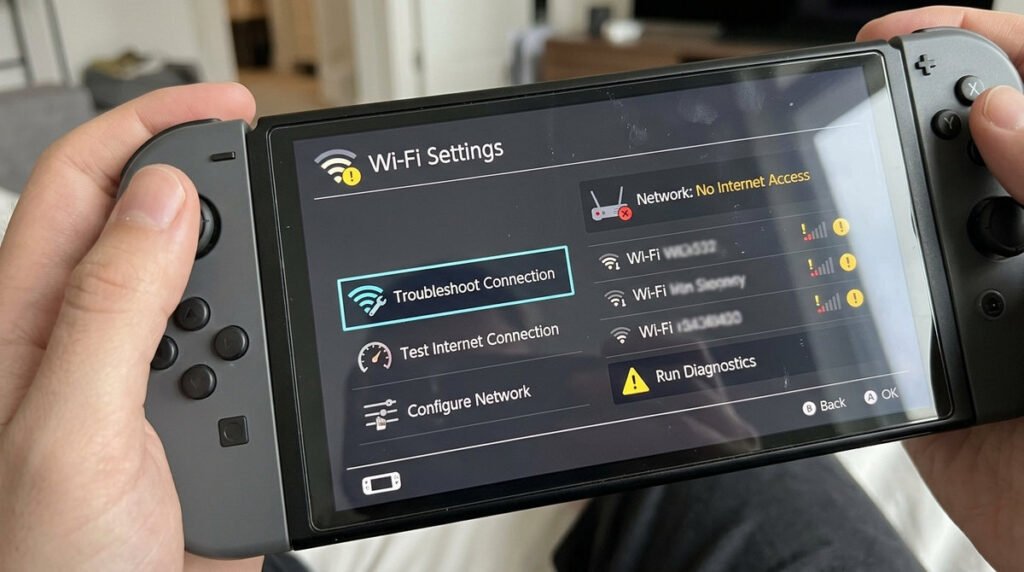
After the transfer, choose several games with important progress and launch them to verify the correct player profile and save. Check personal screenshots and videos separately, and investigate game-specific limitations or cloud-save exclusions before wiping the old console. If you are handing the older system to someone else, sign out and reset only after the new machine has passed those checks. For connection errors, document the screen and consult the official transfer troubleshooting guidance.
Switch-to-Switch 2 transfer checklist
- Prepare both systems: Charge devices and install pending system updates.
- Audit accounts: Make sure the correct Nintendo Account is accessible on the new hardware.
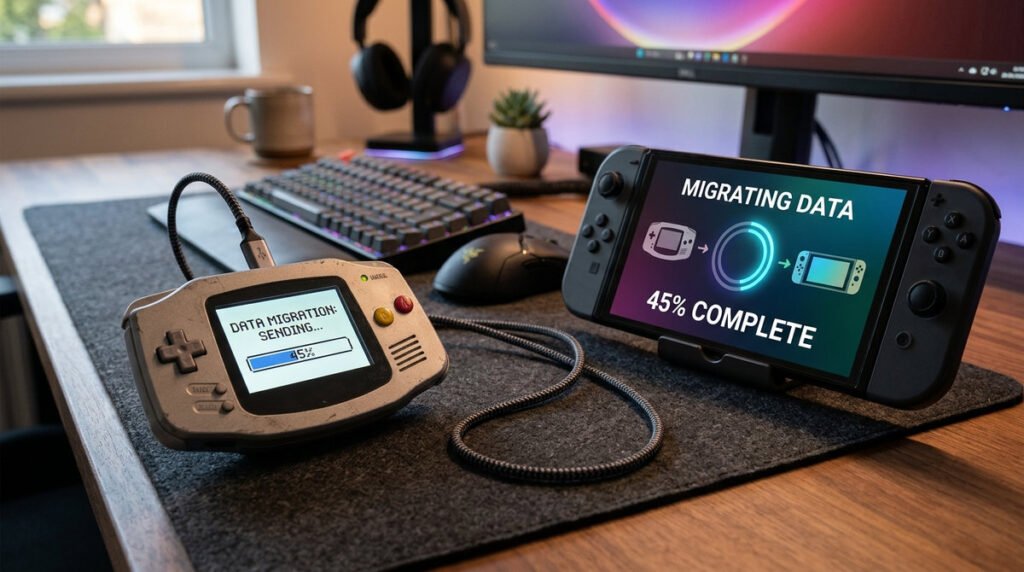
- System transfer: Use Nintendo’s supported transfer workflow for the direction you are moving. Start with Nintendo’s supported transfer instructions for your source console and target console. Save data, installed software and account entitlements are not interchangeable concepts; treat each as a separate verification item.
- Digital game licenses: Downloads can be reacquired or represented through current virtual game card rules.
- Save-data caveats: Some titles have special handling or do not use standard cloud backups. Before resetting or selling the old system, launch the games that contain irreplaceable progress on the destination and check that the expected save is present. Do not assume a cloud backup covers every title.
- Screenshots: Save captured media separately if it matters. Treat screenshots and videos as a separate library. Confirm that any photos or clips you care about have made it across, because being able to redownload a game does not restore personal captured media.
- Validate games: Launch your main titles to confirm progress before resetting hardware.
- Troubleshooting: Keep the original machine intact until every important move is verified.