Finding your captures and export options
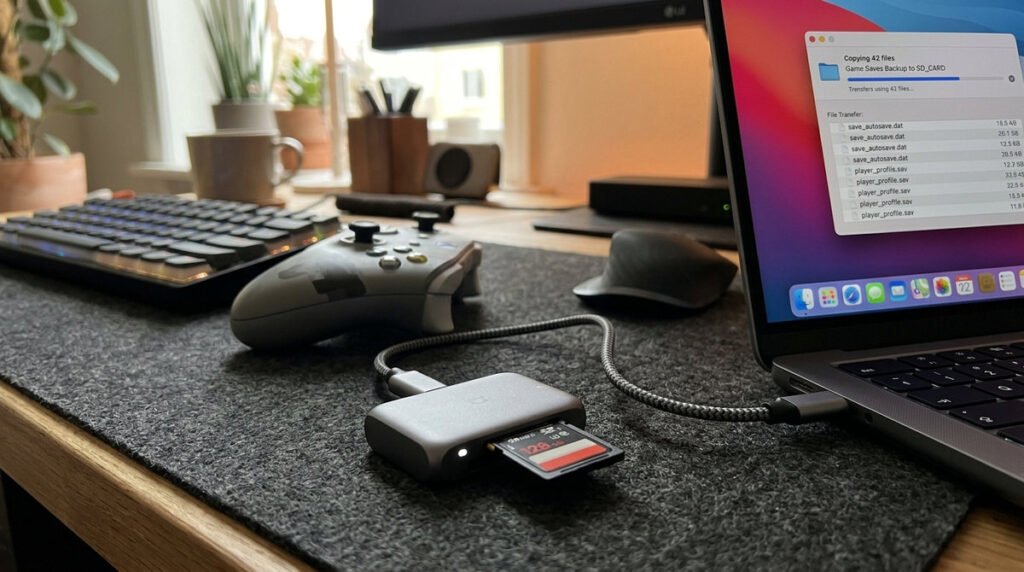
Decide whether you need the original files or merely copies for sharing. Move a small test group first, open the image and video files on the computer, and check that the dates and image quality are preserved. The original Nintendo Switch’s supported computer and microSD workflows may differ from the Switch 2’s Album and companion-app options. Never delete an Album or format removable storage until a second copy of important personal clips has been checked.
Transferring files without changing save data
Captured media is not the same as save-game data. Screenshots and clips are generally files you can copy, while saved progress may require Nintendo’s separate transfer or cloud-save mechanisms. Confirm which console model you have before following a USB or removable-media tutorial; menu wording and supported workflows can differ between the original Switch and Switch 2. A normal file backup should preserve the originals rather than resaving screenshots through a messaging app that compresses them.
Checking formats and preserving originals
For a large collection, copy a few files first and open them on the computer to confirm that video playback, orientation and filenames survived the transfer. Organize the archive by date or game, keep a second copy if the files are important, and only then consider freeing storage on the console. Avoid disconnecting a card during active file access and never erase the source as the first step. Transferred photos do not include game progress or account licenses.
Capture transfer checklist
- Identify the device: The original Switch and Switch 2 may present different transfer menus.
- Find the Album: Locate screenshots and clips before choosing a transfer route.
- USB transfer: Follow the console’s supported computer-connection steps if available.
- Wireless options: Some devices support phone-based transfer flows that differ from a direct PC cable.
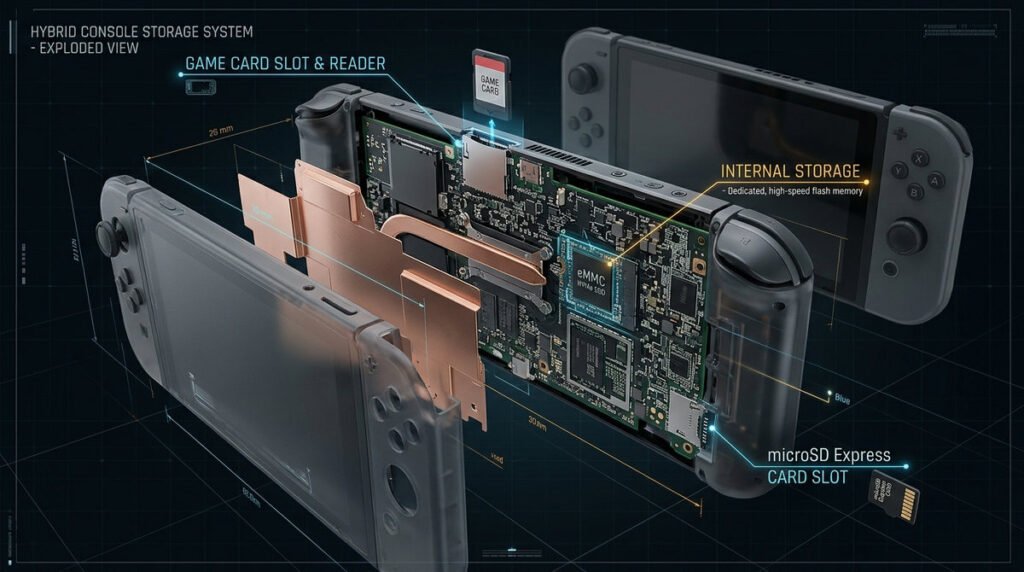
- SD card route: On supported original Switch setups, media may be accessible from card storage.
- Keep original filenames: Preserving dates and names helps organize a growing archive.
- Verify files: Open several exported clips and images before deleting anything.
- Media versus saves: Copying a video never transfers gameplay progress.